About November 2011 my wife decided she wanted a treadmill desk. She took a tray, attached it to our treadmill with a bunch of shoe strings, and tested the concept.
She liked it, so I drew up plans for a permanent desk. I got the initial structure built the weekend of January 21-22. The first revision was done a couple of weeks later, and the final (painted) version was completed Feb 18.
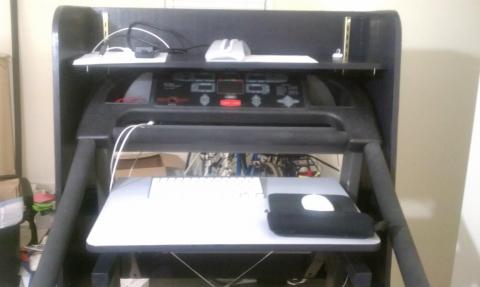
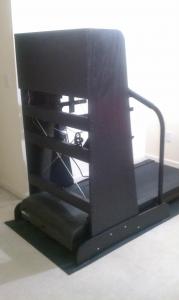
The first pass is visible below. I had some 5/8" plywood laying around, so after some sketching and discussion, cutting and drilling, bolting and screwing, this was the result. In this and all the "bare wood" photos, the black/gray parts are the treadmill. You can see the "desktop" were a keyboard or laptop sits, and above the treadmill controls there is a shelf for a larger monitor.
There are two details about the base worth noting. First, the triangular base does not extend beyond the vertical back wall. Second, the triangular base is flat on the bottom. That meant the weight of the structure was spread evenly over a large space. With a low weight per area, and sitting on top of a rubber mat that was on top of carpet that was on top of carpet padding, this thing wobbled. It was too unstable, so set to work on the first revision.
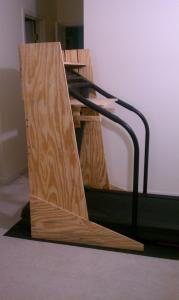
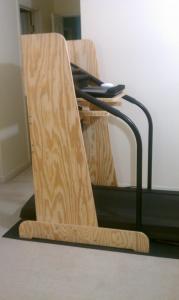
Second pass - In this version I rounded some corners, but the most important change was to the base. I cut the bottom so each side had two "feet". What this did is focus the weight on a smaller area, so the structure was able to compress the carpeting and padding, making the whole thing less wobbly, at least for and aft. There was still some wobble side to side.
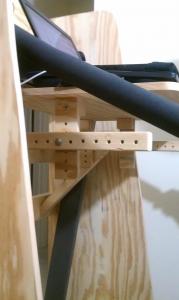
In this closeup of second revision, you can see the vertical and horizontal (fore and aft) adjustment for the desktop. It's not easily adjustable; there are four bolts and wingnuts, but it is adjustable in one inch increments.
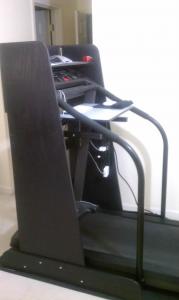
Third and final version - finished with semi-gloss black acrylic enamel. From this angle you can see the cross braces. The top two provide the attach points for the desktop supports. The bottom cross brace was added to make the diagonal bracing (using screen door turnbuckles) possible, which addressed the lateral movement problem.
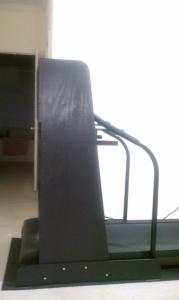
Side view - in some other photos the back looks slanted, but it is in fact vertical.
In this quartering front view you get a better look at the desktop and top (monitor) shelf.
A closer look reveals the desktop is covered with Alvin Vyco board cover, something I recalled from the old days of drafting tables.
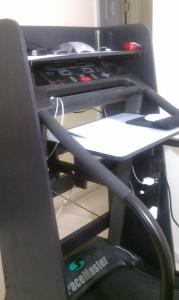
I even have a surge protector mounted to the side panel, and cable management loops are mounted in various places around the side panels and cross braces.
Not a terribly complicated project, but it was fun, involved some interesting problem solving, and as I write this it has survived more than five years.
